1450 farm
Learning as we grow on our small farm in lfk
Building Raised Beds

If you’ve been following along, you know that we have been working on a raised bed garden area off our basement patio. As I mentioned before, we used to garden down in an area that was conventional crop ground as recently as about 5 years ago. The soil has a lot of clay and a weed seed bank that is a constant source of frustration for us. We’ve had some good success down there, but the last couple of years it seems like we’ve had more pest pressure and weed pressure than we initially had when we started using that ground. Along with those struggles, it’s also not super convenient to water since we have to run a considerable amount of hose from across the driveway and our overhead waterers still don’t quite provide adequate coverage. So, this year we’ve decided to make a change that should free up a lot of time and a lot of frustration: Raised beds!
When we started reconsidering our garden, we knew we wanted it to be closer to the house so we’d be more likely to tend to it. The only good area close to our house is off the walkout basement area since the rest of the surrounding area has a pretty considerable slope. It worked out well since we have a hose bib on the basement patio and we have our fire pit down there as well. With a location determined we decided on raised beds since we knew we’d need to bring in better soil anyway and this way we could make an aesthetically pleasing area that could incorporate a nice walkway out to a firepit area. We’re hoping this solution will allow us to better manage weed and pest pressure. Mentally, I think it will be easier to manage having the garden divided up into 16 beds that we can divide up work on. And our workload should be dramatically decreased by having the whole thing on an automatic water system.
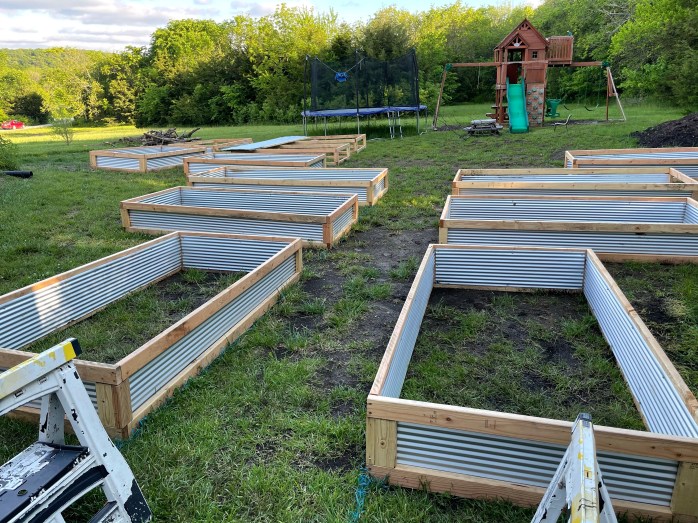
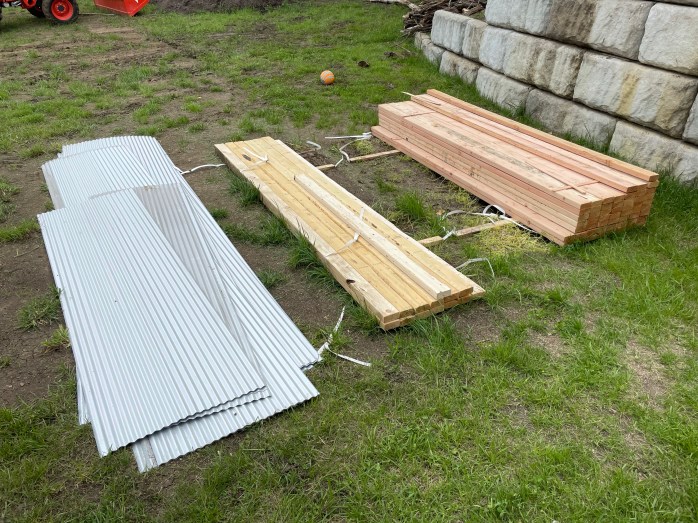
Once we decided on the location and style of garden beds, it was time to determine just what kind of raised beds we wanted to make. I’ve made some simple 4’x8’ cedar raised beds out of 2”x6”s before, but we wanted something a little more this time. I really liked the idea of having a little taller beds this time around to make working in them a little less taxing on our backs, so I started looking around at how people were making taller raised bed gardens. I was immediately drawn to the look of the metal/wood hybrid model, but had always heard that metal garden beds heat up too much and dry out the beds, but when I started to research that issue it seems that it’s not a major concern as long as you are watering regularly. I found a pretty cool design that was almost all metal, but when I started working on ours I didn’t like the idea of making the corners out of the aluminum I had. I had planned to just bend some 6” wide metal with a metal brake to make the corners, but I just couldn’t help but feel I’d rather have wood supporting the corners, so I changed the plan. I ended up settling on making 14 4’x8’x16” beds and 2 4’x12’x16” beds framed out of wood with metal roofing panels lining the inside to hold the soil in. Well, our lumber provider could only get me studs in Douglas Fir and I somehow ended up with some 2”x10”s instead of 2”x12”s, so the bed dimensions ended up being about 8.5’x4’ and 10’x4’. I couldn’t care less, it’s close enough. If you’ve checked the price of Cedar lately, you’ll understand why I compromised and settled for Douglas Fir. I realize these boards will eventually rot, but I’m hoping by the time that happens I can harvest my own cedar out of our woodlot to repair/replace it. If you want to see the specifics on how I built these beds, stay tuned for our YouTube video detailing the build.
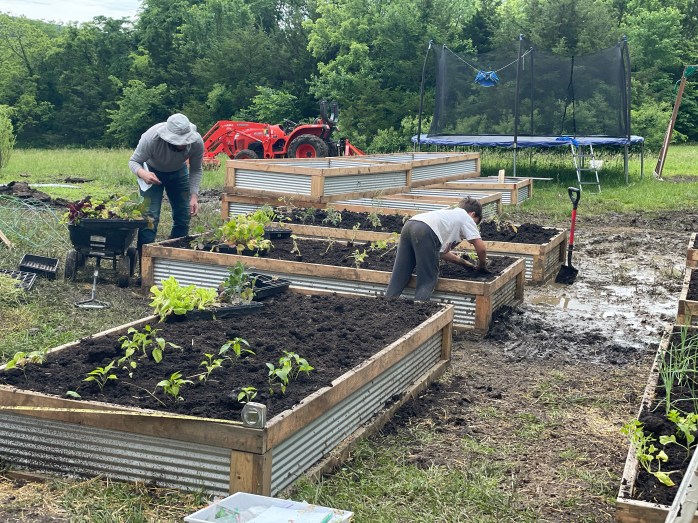
As I mentioned in the last post, this design has proven to be an extremely expensive way to build a garden (at least with this year’s material prices). I don’t have the exact numbers in front of me, but I’d venture to guess we’ve spent close to $3k including our irrigation lines/timer, top soil and compost deliveries and we still need to supplement with a log base and probably even get more soil delivered. This is obviously a lot of money up front, but we can justify the expense knowing that the produce we pull out of the garden will more than offset the cost. It’s also going to add a really appealing place for our family to garden and relax by the fire pit in an area that was not in great shape as far as lawn quality was concerned. There are obviously a lot of ways that this could have been done cheaper, but we needed it done now and we wanted it to look nice, so we made the decision to spend the money. If we had waited to do this until we have a barn built, we likely could have used scrap metal from the building and dirt from the excavation and had a considerably cheaper build, but that also would have meant another year of struggling in the garden o’ weeds. We are really focusing on making functional infrastructure in all aspects of the farm and homestead this year, so we can spend more time enjoying our lives instead of struggling through chores and tasks. Ultimately this will allow us to take time away from the farm with systems in place that other people can easily handle in our absence.
There you have it! I’ll be back next time to talk about what’s going in and around these beds. Thanks for your interest in what’s going on here and I hope you have a bountiful summer!

These are such beautiful beds! Good job guys! Can’t wait to see the final project fire pit and all.
LikeLike