1450 farm
Learning as we grow on our small farm in lfk
Seed Starting

Every year winter seems to crawl along like cool molasses. The world is colored by myriad shades of brown. Sometimes it’s hard to remember if Spring is something dreamed up in your mind’s eye or if you will actually be able to see it. Smell it. Feel it. And then one day, as you sit by the fireplace and look across the valley through a pane of frosted glass, a panic convulses your body. You rifle through your calendar (not as dramatic on an iPhone calendar) and breathe a sigh of relief as you count back the weeks from your average frost-free date. There’s still time.
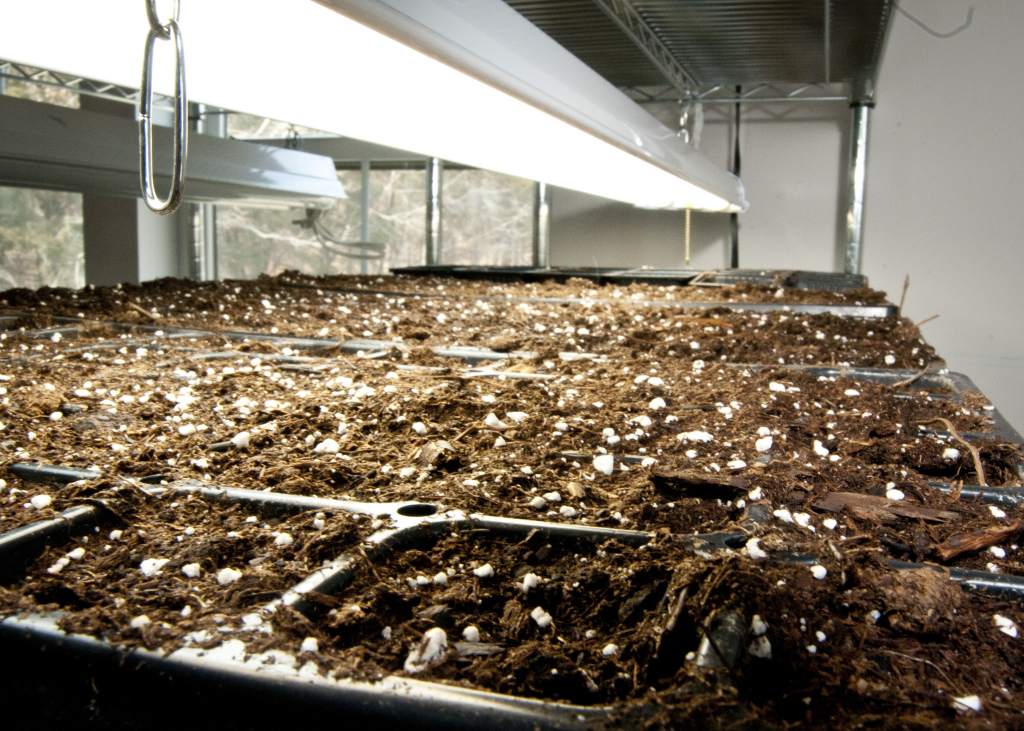
In the past we’ve been guilty of starting seeds too early, too late, and somewhere in between. We’ve had makeshift stands, sawhorses covered with plywood, and old dinner tables strewn with seed flats in garages, basements, and guest bedrooms. This year we’ve finally come up with a seed starting setup that should serve us well for years (and more importantly, one we won’t have to cobble together at the last minute). If you look in seed and garden supply catalogs you will see beautifully streamlined multi-shelf units equipped with casters and grow lights. You’ll also see that those cost a small fortune. Well, for a fraction of the cost of one of those units, we were able to put together two units that should each handle 10-20 seed flats. We bought two shelving units from Sam’s Club for $90 each (or you can buy this shelving rack from amazon) and then simply mounted a fluorescent shop light above each shelf (except the top one). In each fixture we put one cool and one warm T12 fluorescent bulb. We’ve always had great luck with plain old cool bulbs, but we read that you get a broader spectrum of light if you use one of each. Theoretically it should make a difference. You’ll notice we don’t use bulbs specifically for “growing”. If you already have them, go ahead and use them, but don’t bother buying more, they are super expensive and regular bulbs will serve you just as well. Make sure you can move your lights up and down to keep them as close to the plants as possible to keep plants from becoming leggy and stretching to try to reach the light. Once the fixtures were attached to the shelves we just ran the cords neatly down the side and secured them with zip-ties. We plugged each light into a power strip mounted to the side of the shelving unit where we could also plug in the Hydrofarm heat mat
we use.


This shelving set up is pretty big, but luckily we have a large art studio above our garage where Shannon paints and does photography, so if she needs it out of the way she can just roll the units to another part of the studio. With our set up taken care of, we focused on timing our seed starting. The easiest way to do this is to find what your USDA hardiness zone (planthardiness.ars.usda.gov) is and from that, determine what you’re average frost-free date is for the Spring. Once you’ve determined that, you can begin calculating all of your seed starting dates based on the date you can start planting out in the garden. Keep in mind that your frost-free date is just an average and soil and air temperatures may not be what you need them to be. It’s important that you start your seeds counting back from the date they will actually be planted out, not always just the frost-free date. Some plants, like tomatoes and peppers, will only thrive if the soil temperature is warm enough.
What we’ve done this year is put together a farm calendar that has reminders for everything we need to do, from seed starting to incubating. It takes a little time, but it’s worth it to go through each variety you will be growing and make note of when it needs to be started, whether indoors or directed seeded in the garden. It is also important to note multiple dates if you will be doing any succession planting to spread your harvest across a longer season for crops like radishes, carrots, lettuce, etc. Once you have some experience gardening, this is a good time to put together a plan for where everything will go in your garden and plan for how you can fill in the parts of your garden that have been harvested. If you have an opportunity to replant an area you can reap a bigger harvest and not just have an area lay fallow. If you don’t plan on planting a late season/fall crop after an early season crop is harvested, you might also consider growing a cover crop in that spot to help with erosion, fix nitrogen, or just to add more organic matter back to the soil when the cover crop is incorporated back in. We’re really good at the initial planning phase, but are really focused this year on doing a better job with succession plantings and extending our growing seasons.
We have traditionally started most of our seeds in the typical 50-cell flats using organic pro-mix. Some people like to put clear, plastic domes over their seed flats to keep moisture in for germination. We don’t always do this, but it’s important to note that if you choose to do this, remove the domes as soon as your plants germinate to keep mold, fungus, and rot from damaging your plants. As our plants grow, we will pot them up to bigger pots to insure they don’t become root bound and stunted. We were gifted a couple different sizes of soil block makers for Christmas, so hopefully we will do some experimentation with soil blocking in the near future, but for now we are sticking to our tried and true starting methods. We’ll be sure to keep you posted on our soil block experience as it develops. If you don’t want to spend the money on plastic flats to start seeds, you can use anything from old cups, yogurt containers, and milk jugs to egg shells and egg cartons. Just make sure whatever you use is clean and will accommodate the roots of your plants. We use generic spray bottles to water our seed flats as to not disrupt the plants by a heavy stream of water. Over the years we’ve had great success without supplemental heat mats, but if you have them or don’t mind spending the money on them, they can provide a great benefit in the germination of plants like tomatoes and peppers (these are the only seedlings we’ve consistently used heat mats). We’ve heard anecdotal evidence that peppers do better when the heat mat cycles on and off with the light, allowing the soil a cooling down period overnight. This is not something we’ve ever tried, but we will be experimenting with it this year as we grow our bell, frying, and jalapeno peppers.
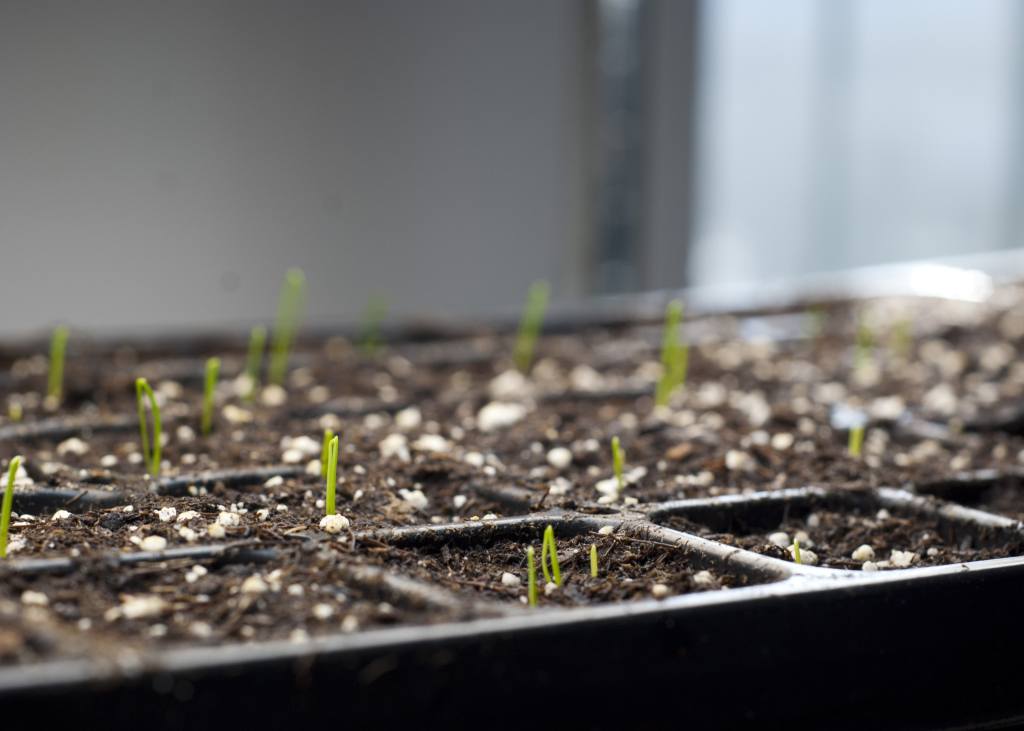
Some of the earliest crops we start indoors are onions and asparagus. We’ve got a hundred or so onions and the same number of asparagus started already this season. A lot of people just plant 1 year-old asparagus crowns to get their first harvest faster, but we’re cheap and just start it from seed. We have a small patch already started (the third house we’ve started them at) and are going to expand it with this years starts. We’ve also added microgreens to the mix and will be continuously harvesting them once we get our timing and sales schedule down for that. We plan to devote one whole shelving unit just to microgreens! Generally, we like to start many more seeds than we really need to hedge against poor germination and because we can get a little carried away selecting seed varieties ☺. If all goes well this year, we will have extra started plants for sale in the Spring. We will be growing some varieties that you won’t be able to find in the local garden centers and nurseries, so stay tuned if your interested in adding some new varieties to your garden this year.
Starting your own plants from seed can seem a little overwhelming, but in the long run you will save money and be able to get a much broader array of varieties than you would otherwise have access to if relying on local garden center starts. Give it a try and let us know how it goes!


Seed starting is one of my favorite things. Your set up is beautiful!
LikeLike
Love your set up! Our seedling space is a little small right now but we hope to expand to racks like yours. Thank you for sharing! We recently shared our seedling set up if you’d like to take a look, we would love your feedback.
LikeLike