1450 farm
Learning as we grow on our small farm in lfk
Brooding Chicks

There’s not much cuter than a bunch of tiny, baby chicks skittering about, peeping in unison. There’s also not much that grows faster, poops more, or kicks up more dust. The first time we brooded baby chicks we had the perfect set up. We set up one of the cardboard rings that poultry suppliers sell as starter brooders and set it on top of a tarp covered with pine shavings. Inside that space we had two plastic trough feeders, a water fount, and a heat lamp suspended to a makeshift wooden structure. We secured the heat lamp with screws, zip-ties, and wire so that if one method failed, we still had two backups. We’re very careful people and did not want to risk burning our house down. Oh, didn’t I mention that we set this all up INSIDE our house? In fairness, we set it up in the concrete tornado room in our basement, so at least the mess was contained to an easily cleaned area. Well, the setup worked great for maybe two weeks. The 25 chicks had way more room than they could possibly need, but it was really a pain to work in. Any time we needed to handle a chick (which was often because, you know, they were our first baby chicks), or adjust the heat lamp, we would have to step into the brooder area full of little chick droppings. Not ideal. We also realized that it doesn’t take long for chicks to grow big enough to hop over an 18” tall cardboard wall. Huh. Luckily we kept the door closed to that room to keep our dogs out while we were gone, so we didn’t have chicks pooping all over our basement. To remedy that problem, we built some frames of chicken wire to put over the top. We suffered the occasional escapee, but it did the job for the most part. So now, along with entering the brooder to do work, we also had to maneuver these hastily thrown together chicken wire panels. Not great. The one nice thing about keeping the chicks inside was that it forced us to be diligent about freshening the pine shavings in the brooder, lest our house smell like a poorly managed barn. Oh, and it taught us that we would never brood poultry inside our house again. We kept the chicks in this set up until they were probably about 4 weeks old and then we moved them outside into the first chicken coop we ever built (you can read about that here). We had that coop parked in our driveway and ran an extension cord from our garage to the heat lamp as we weaned them off supplemental heat and prepared to move them to our pasture. Much better. Well, much better after we cleaned the copious amounts of dust off everything in our tornado room.


As with most parts of farming, there are several ways to brood chicks. Some better than others and most better than our first attempt. The last few times we’ve brooded chicks (and ducklings) we decided that the garage would be a better place. Other than the dust, it is far superior. For small batches we have a rubber trough from Tractor Supply that we have fitted with a hardware cloth-covered frame to eliminate escapees. The frame also has a post to attach the heat lamp, so it’s easy to just slide the frame over to access the feeder, waterer, and to replenish pine shavings. It’s really important to allow chicks access to food and fresh water at all times. It is also important to keep the litter fresh to limit risk of illness and ammonia buildup. This set up has worked pretty well for about a dozen birds, but is not a good solution for larger batches.
For our larger batches last year we laid down a tarp in the garage and then screwed together pallets to make a walled structure roughly 40” x 7’. Then we wrapped that in chicken wire to keep the chicks from slipping out through the pallet openings. This system worked pretty well, but it required us to leave one pallet loose on the end so we could swivel it open like a door. We attached hooks to it so that we could just hook it to an eyelet on the adjacent panels and unhook it when we opened it. While the height of the pallets were great for keeping the chicks from jumping out, it also kept us from being able to easily grab the waterers to refill or add feed to the feeders. When we were finished with this set up we were able to just take apart the pallets and drag the tarp full of shavings and manure over to our compost pile. Overall, not a bad design.

This year, we modified our set up once again. We still put a tarp down in the garage, but this time we needed shorter walls. After looking through our scrap wood we didn’t really have enough extra plywood to make a brooder the size we needed. Just as we were about to go buy some new plywood we remembered that we had an old ping pong table that we haven’t had room to put in either of our last two houses. That poor ping pong table had been stored in our leaky shop at our old house and in our garage at our current house. The table was beat up and warped a bit and would probably never be reassembled in our lifetime. It probably sounds crazy, but we grabbed the circular saw and ripped each side of that table in two. We set three of the pieces perpendicular to the garage wall and placed one across the front of those. We had to add a couple extra pieces of scrap boards and metal to completely close everything in, but it made a nice big brooder structure with a partition in it to make a side for our broilers and a side for our layers. We separated our Cornish Cross broiler chicks from the rest of the chicks so that we can monitor their feed intake precisely, both for their health and so we can get a handle on what it is going to cost us per bird to raise them for market. We will go into detail on all of that when the time comes. This setup has proven to be our best one yet and probably something we will continue doing until we decide we need a dedicated brooder structure. For the batch size we’re currently doing, this works, but hopefully we will outgrow it once we get our broiler production ramped up. The broilers will be processed somewhere around the 8-8.5 week time frame, so we’re hoping to get them outside after 3-3.5 weeks. Since we’re starting so early in the Spring, that will all depend on the weather.


Okay, we’ve covered what our brooder setup looks like, now let’s talk about how we care for the chicks as soon as they hatch or arrive in the mail. First, always have your brooder set up with the heat lamp going several hours before your chicks arrive. We always set it up the day our chicks are due to hatch since it doesn’t take long for the hatchery to get them from Iowa to Kansas. If you order chicks through a hatchery you will, in our experience, get a call VERY early in the morning from your local post office that your chicks are there (you can read about our experience this year here). When you go pick them up you will most certainly make a joke about hearing your package in the back room. They’ve apparently heard that joke before. Anyway, while you’re still at the post office it’s a good idea to take a peek inside the box to assess the health of the chicks and to see if any are dead. Some chicks are born weak and have no chance at survival and some chicks can perish in transit from the stress or handling of the postal service. We have always had timely shipment and healthy chicks, but there are plenty of stories of the postal service losing shipments or not handling them properly. Most hatcheries will refund your money or ship you more chicks if you suffer losses in shipment, but it needs to be documented at the post office. This is the first year we ever had any losses in our shipment, but it was only two birds and we didn’t feel the need to file a claim. Hatcheries are pretty good about throwing an extra bird or two into the order to cover the potential losses and this order McMurray actually included 3 extra birds, so we ended up with 54 live birds out of our order of 53.


Once you have your healthy chicks in hand, take them straight home and get them in the brooder. This isn’t the time to go to the feed store for feed or any other brooding supplies. You’re brooder should already be set up with the heat on and feeders and waterers filled. The first thing you should do when you put the chicks in the brooder is to individually dip each of their beaks into their water. Hens show their babies how to drink, but hatchery incubators make lousy mothers, so it’s your job to teach them. If you’ve never done this before you may wonder how to know if you’ve done it right, but once you do the first one and see it swallow some water you will have mastered the art. Some people recommend putting down some paper on top of the pine shavings to sprinkle feed on so the chicks can see it better. We did this the first time, but in subsequent broodings we just set the chicks by the feeders after we dip their beaks. While you are teaching the chicks to drink you can also be looking at the health of each bird and counting them to make sure your order was filled correctly. It should be noted that now that the chicks have had water, they will need continuous access to feed and water (with the exception of feed for Cornish X, but we’ll cover that in another post). When chicks hatch, their metabolism doesn’t really kick on until they start eating and drinking. The yolk provides all the sustenance they need for a few days, but the minute they have food and water they will need it continuously. Hatcheries offer some vaccinations, but we have always ordered ours without any. To help minimize health issues we like to add a splash of apple cider vinegar to their waterers each time we replenish them. We also like to offer a little bit of plain yogurt mixed with some feed a couple times during their first week of life. We plan on adding garlic powder to this mix of natural preventative this year as well. A clean brooder and a little bit of prevention go a long way. Sure, it may be anecdotal, but we haven’t had any health issues in our flocks and we think these small steps are worth doing. We also sprinkle a little bit of chick grit into their feeders to make sure their gizzard is able to do its job of breaking down their feed. This initial management is why we like to have someone home with them for the first day or two to be able to keep an eye on things and make sure they’re getting what they need to start their lives off as healthy as they can.
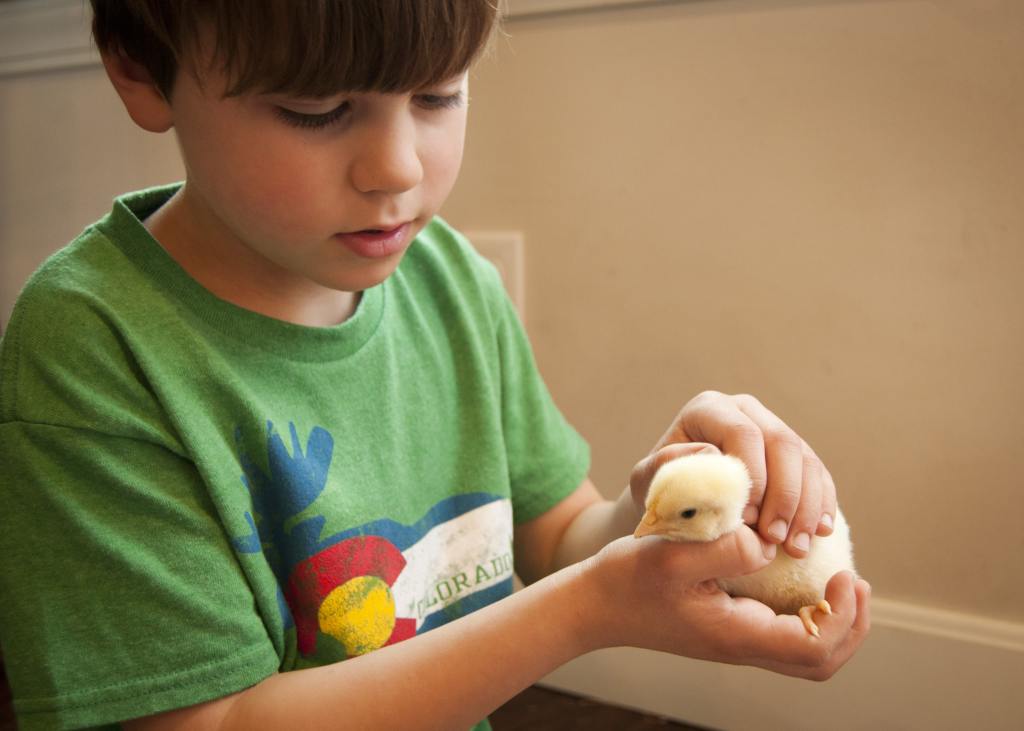
As you can see, getting chicks started really isn’t hard and it’s pretty darn adorable. However, you will likely have to deal with death at some point if you do this more than once. We didn’t lose any birds our first go around, but over a few more broodings we have lost a few. We lost two additional birds in the brooder this year; one of them looked weak the night before and the other was really small, so we’re chalking it up to them just not being hardy enough to thrive. As cruel as it sounds, it’s probably better for your flock if the weaker birds are eliminated. Those are not the genetics you want to perpetuate if you intend to do any breeding. Sometimes animals just don’t make it, even with your best efforts. The birds we’ve lost have been the smaller, weaker ones that you can look at and tell something just isn’t right with them. If the thought of seeing a dead chick is something you can’t handle, this probably isn’t the right endeavor for you.

One issue that can arise in the brooder that can’t be attributed to poor genetics is an affliction called pasty butt. While this sounds like an insult a 4 year-old would hurl at his brother, I assure you, it’s a real thing. Basically a bunch of poop can accumulate and harden over the vent of the chick and block subsequent excrement from exiting the chick’s body. If this occurs, the resultant blockage can lead to death. We’ve had a handful of pasty butt instances over the course of our broodings (pretty much all from hatchery-ordered chicks), but have never had any deaths as a result. The easiest way to deal with the issue is to get a bucket of hot water and a rag and just wipe the ball of poop with the wet rag. Get the water as hot as you can and then pinch the poop with the rag and rub your fingers together to break the hardened poop apart. It sounds gross, but it will become second-nature. Try not to pull the poop off as you run the risk of hurting the chick. Some of the feathers might come off the chick’s bottom, but just keep and eye on them to make sure the other chicks don’t start pecking at it. Some people recommend putting olive oil on the chick’s backside after the poop is removed, but we’ve never done that and haven’t had any further problems once the blockage is eliminated. Our understanding is that pasty butt is most likely caused by shipping stress or poor brooder management (improper temperature levels, over-crowding, etc.)
This is probably a good time to mention that you are going to need a plan in place to deal with roosters. If you order 25 straight run chicks, you are probably going to end up with half roosters. You are only realistically going to be able to keep 1 of those. Have a plan in place. If you order 25 pullets (females), you are probably going to end up with a rooster or two….or three. Some breeds are harder to sex than others and there is a margin of error for the hatchery. Have a plan in place. We have sold one rooster on Craigslist, but it would probably not be wise to assume you will be able to do that. If you look at Craigslist on any given day, you will likely see someone offering a free rooster. They probably didn’t have a plan. Part of the reason we like to order our chicks straight run is that it allows us to have a decent number of roosters to take to the processor, so we can make the trip worth while. You might consider this option so you can get your quota of hens, but also fill your freezer at the same time. Also, when you order just pullets, many hatcheries just cull the roosters. We would rather them get a really good life for 16-20 weeks and in turn contribute nourishment to our family, than a wasted hatchery life for a day. We have ordered straight run and just pullets, so we certainly aren’t judging your decision, but it’s something to be aware of when you’re purchasing from a hatchery.
So, that got dark. Let’s lighten things up a bit. Earlier we talked about using a heat lamp. The general rule of thumb is to have the brooder at 95 degrees for the first week and drop the temperature 5 degrees per week until it’s at 70 degrees. This sound difficult, but it’s really pretty easy. Make sure you have enough brooder space and then mount your light about 18” above the pine shavings at one end of the brooder. Place your feeder and waterer away from the heat lamp, so the chicks can move back and forth as they need to. The brooder should be plenty warm right under the heat lamp and cooler as you move away from it. To make sure your brooder is warm enough, just monitor the chicks’ behavior. If they’re all piled up together under the lamp, it’s probably too cold. If they are all as far as they can get from the lamp, it’s probably too warm. If they are buzzing around the brooder like little wild toddlers and passing out scattered around, things are probably just fine. Chicks can move in and out of the heat as needed if given enough room to do it, so your management of the heat lamp should be minimal. We tend to raise our lamp up gradually over a few weeks, but continue using the chicks as our guide for their comfort-level. Okay, if you’re feeling overwhelmed, take a deep breath and just go do it yourself. Experience is really the best teacher. And after you have some successes and failures, let us know what tricks you’ve found that work really well for you!

Pingback: 7 Essentials for Chick Starting (brooding) – 1450 farm