1450 farm
Learning as we grow on our small farm in lfk
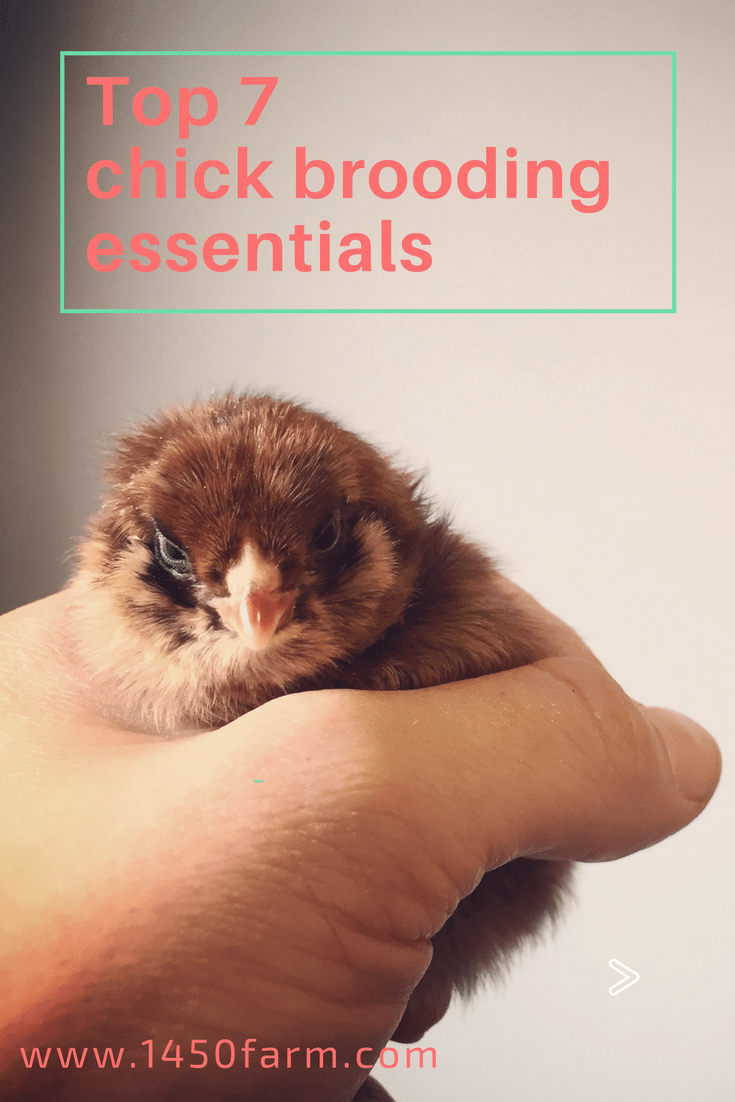
7 Essentials for Chick Starting (brooding)

We posted a blog post last week that details how we’ve managed our chick brooders in the past and what we’re doing this year, but we just wanted to give you a quick run-down of what we think are brooder essentials. These are all things that you need to have in place BEFORE you bring home any chicks.
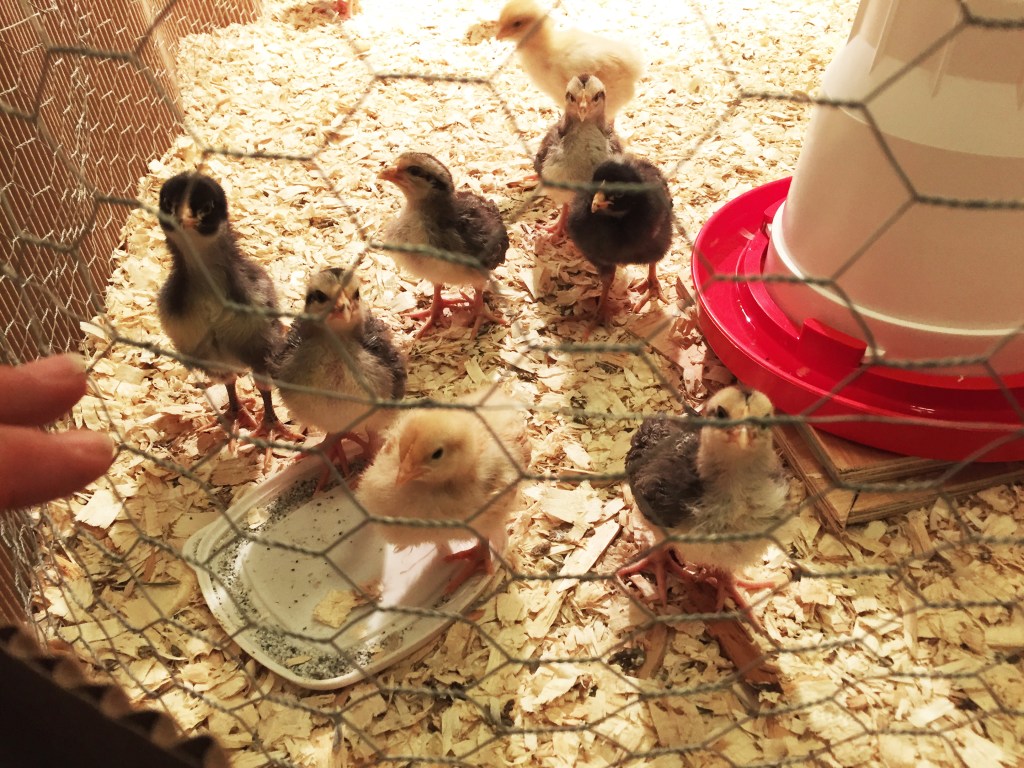
1. Brooder – I mean, seriously, this is important. You’re going to need a draft-free space with some side-walls and possibly a top if you don’t have a dedicated building for brooding. We do our brooding in the garage, so we screw together some 2’ tall plywood walls set over a tarp and put some kind of mesh over the top. Shoot for ½ sq. ft. per bird to allow them plenty of space to grow. We use pine shaving flakes on the floor and freshen them as they are soiled.


2. Heat lamp(s) – Baby chicks need it warm. Pretty much everything you read will say that it should be 95 degree F for the first week in the brooder. We accomplish this by hanging a
3. Feeder- We like to use cheap trough Feeder
4. Waterer – We use plastic founts (waterer
5. Feed – Make sure you have the appropriate feed for whatever type of poultry you’re bringing home. We are currently brooding a batch of Cornish X meat birds and a batch of heritage pullets, so we had to make sure that we had appropriate feed for both, given the Cornish have a higher protein requirement. With chickens, it’s pretty easy to find feed at your local farm store, but if you’re doing turkeys or something else, make sure you have a feed source before you order those birds. We’ve been using feed from our local farm store, but we’re excitedly placing our first order of organic, custom-milled grain from a regional mill right here in Kansas this week! If you can find a local mill you will likely get a much higher quality and less processed feed product at a lower price point (depending on the feed).
6. Plastic lids/plates – We like to give the baby chicks a little bit of plain yogurt to help establish good gut health for them. We just spoon a pile of it onto an old cottage cheese or yogurt lid (or plate, or shallow bowl, or…you get the picture) and mix it together with some of their feed to encourage them to eat it. You can also give free choice grit on these, but we tend to just sprinkle some on to their feed trough when we think about it after they’re about 2 weeks of age.
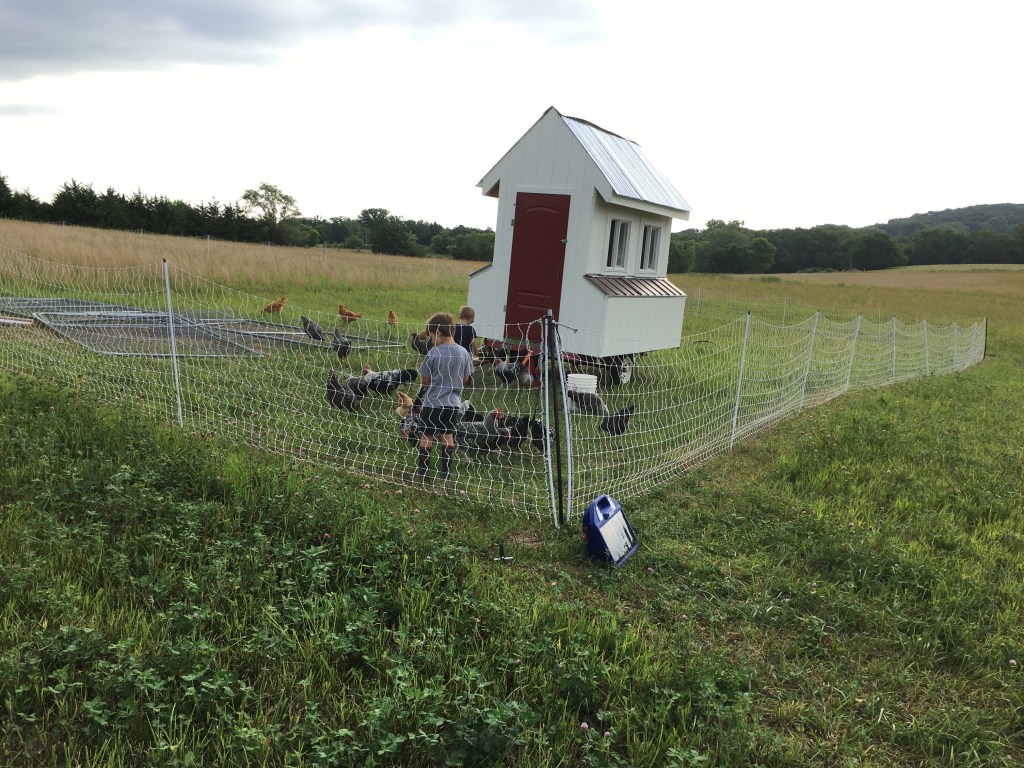
7. Coop – As you know, we’ve broken this one before, but it’s a REALLY good idea to have your coop built before you bring your chicks home. Sure you’ll have several weeks to finish it while they’re in the brooder, but wouldn’t you rather not have the stress of getting it done in time? There are so many coop designs to choose from, but I would highly encourage you to go ahead and build it much bigger than you think you need. Chicken math is real.
Well, there you have it. As you can see, you don’t need much to get started with chickens. If you keep them fed, watered, clean, warm, and dry, you should be set up for success with your new flock!